If you’ve ever spent any real time on the mats, you know there is one submission that appears again and again: the triangle. This classic technique isn’t just for the elite. It’s a pathway for every practitioner, white belt or black, to understand the web between leverage, timing, and control that defines Brazilian Jiu Jitsu. Maybe you’ve been trapped in it, gasping for air, or maybe you’ve locked it yourself, feeling that familiar pulse in your legs as you squeeze. Either way, learning the details and variations of this choke marks a real stage in your journey.
This guide brings you through everything: the concept, mechanics, entries, finishing touches, common pitfalls, escapes, and forging a progression you can actually track with modern tools like BJJ Notes. You’ll find technical details, but also stories and human insights, right down to tips on logging your attempts and troubleshooting what went wrong. And yes, we’ll get clinical and honest about risks, based on real scientific studies. There’s enough here for days of mat study, or just one focused evening of reading.
Let’s pull back the curtain on the triangle, piece by piece.
What is the triangle choke?
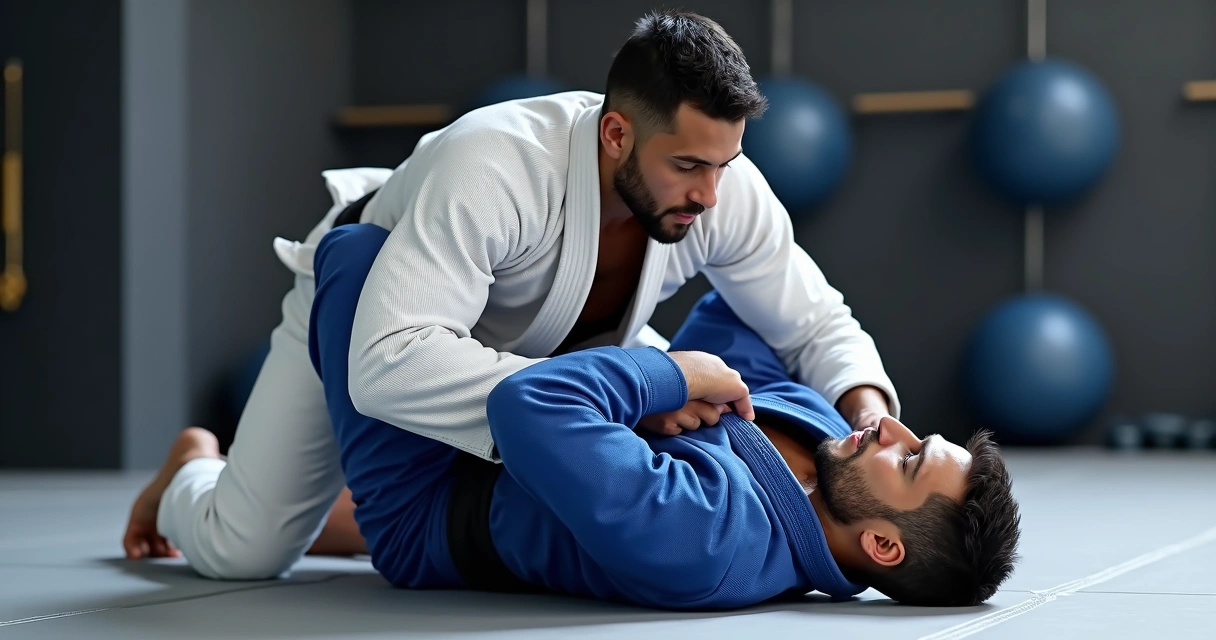
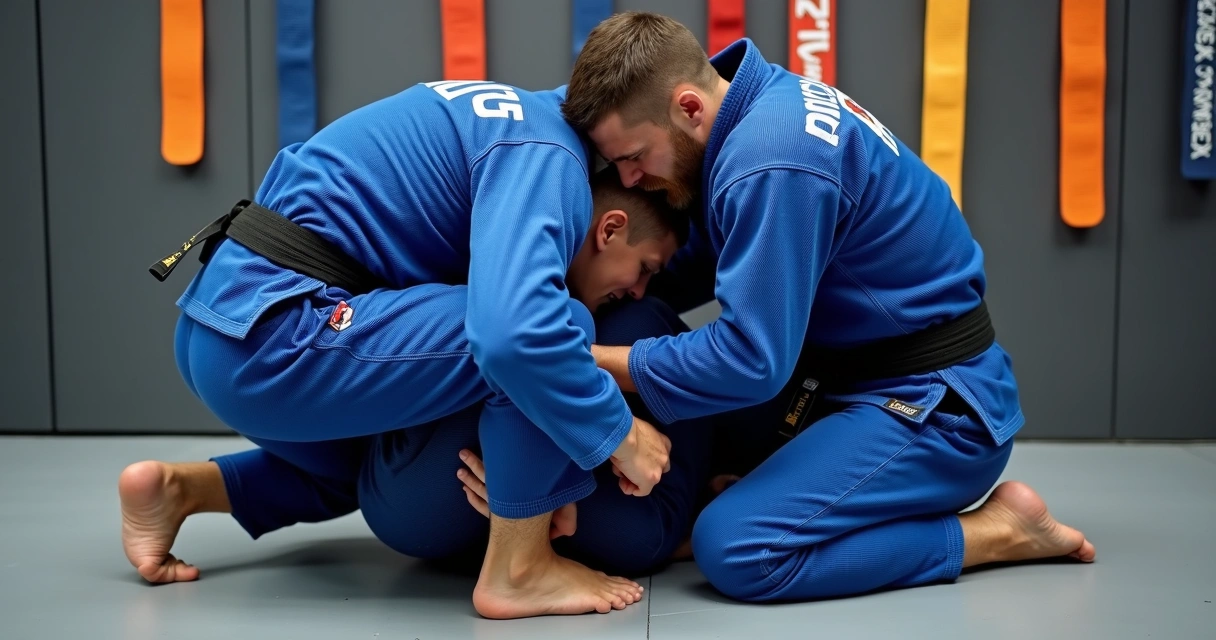
The triangle is a submission that works by creating a vise with your legs around your opponent’s neck and one trapped arm. With your ankles crossed and hips off the floor, you compress the carotid arteries, cutting off blood flow to the brain and forcing a tap or, if ignored, unconsciousness. It’s a tool used at every level, from beginners drilling in the warm gym to the highest levels of mixed martial arts. But it’s also beautiful, in a sort of mathematical way. Your body forms a loop, closing an open door the instant your opponent leaves it ajar.
BJJ practitioners often view the triangle as a staple. Some see it as the first leg attack to learn because it’s reliable and adaptable. But it's more than just a move. It’s a system. From closed guard, open guard, or even the mount, the logic stays the same—wrap off with your thighs, lock the posture, change your angle, seal it tight. The triangle teaches you to be opportunistic, to notice when your opponent's structure opens just a crack.

Why is the triangle so foundational in jiu jitsu?
There’s a reason nearly every practitioner encounters this submission early, and keeps discovering new layers for years. Let’s break down exactly why the triangle is, well, everywhere.
- Versatile entries: It can be set up from closed guard, open guard, spider guard, mount, or scrambles. Few techniques offer that much adaptability.
- Strong for smaller athletes: The move doesn’t require massive strength—timing and hip movement are king.
- Built-in follow-ups: If the triangle fails, you can transition to armbars, omoplatas, sweeps, or back takes.
- Risk versus reward: The triangle’s control stage means you can control your partner and stay safe even as you work for the finish.
- Understanding leverage: It’s a move that teaches you the meaning of angle, bite, and how posture works for or against you.
Spot the triangle and you spot the weak link in your opponent’s armor.
For many, the triangle is a rite of passage. I still remember my first triangle tap—it was clumsy, and I squeezed wrong, but the shock when it worked stayed with me. It taught me that with the right adjustment, even smaller legs can bring down a much bigger training partner. The memory stuck.
Basic anatomy of the triangle choke
You can talk angle, bite, hip elevation, but all triangles rely on a few basic constants. Maybe you already know these, but sometimes it helps to read them, slow and stepwise.
- Isolation of one arm: You must get one arm of your opponent between your legs and the other outside. Think: arm in, arm out.
- Formation of a triangle shape: Cross your legs, with one knee over the opponent’s neck and the ankle of that same leg tucked behind the knee of your other leg.
- Angle change: Rotate your hips so your trapped opponent’s arm is across their body, lining your thigh against the side of their neck.
- Lock and squeeze: Pull their head down, squeeze your knees together, and raise your hips.
- Pressure to the arteries: Use your leg and your opponent’s trapped shoulder to compress the carotid arteries on both sides of their neck. That’s the magic—two points of pressure, blood stops, and sleep becomes inevitable.
Every time you roll, you assemble these steps in different orders and with different little tweaks for body type and reaction. The simplicity lies in the constraints. Only those elements matter.
Technical walk-through: setting up the triangle from closed guard
For most learners, the triangle starts with closed guard. If you can land it there, you can adapt almost anywhere. Here's a straight, stepwise walk-through, with room for the tiny adjustments that, honestly, are where the move lives.
1. break posture and control one arm
When your opponent is in your closed guard, their first priority is usually posture. They want their spine straight, head up, elbows close.
- Use your hands to pull their head toward your chest, breaking that posture.
- Now, underhook one of their arms or grip their wrist. Push or pull that arm across your own body, stacking it on the side you want to attack.
- Your legs are still wrapped around them. If they open their elbows, that’s your cue.
2. shoot your hips up and flank them
You can’t just throw your legs up and hope. You need momentum and angle.
- Open your guard fast.
- Thrust your hips off the mat, bringing your leg over their shoulder, their trapped arm in between your thighs.
- Your other leg swings out, chopping down on the back of their neck.
It helps to grab their head or their shin right away so they can’t slip a trapped arm free.
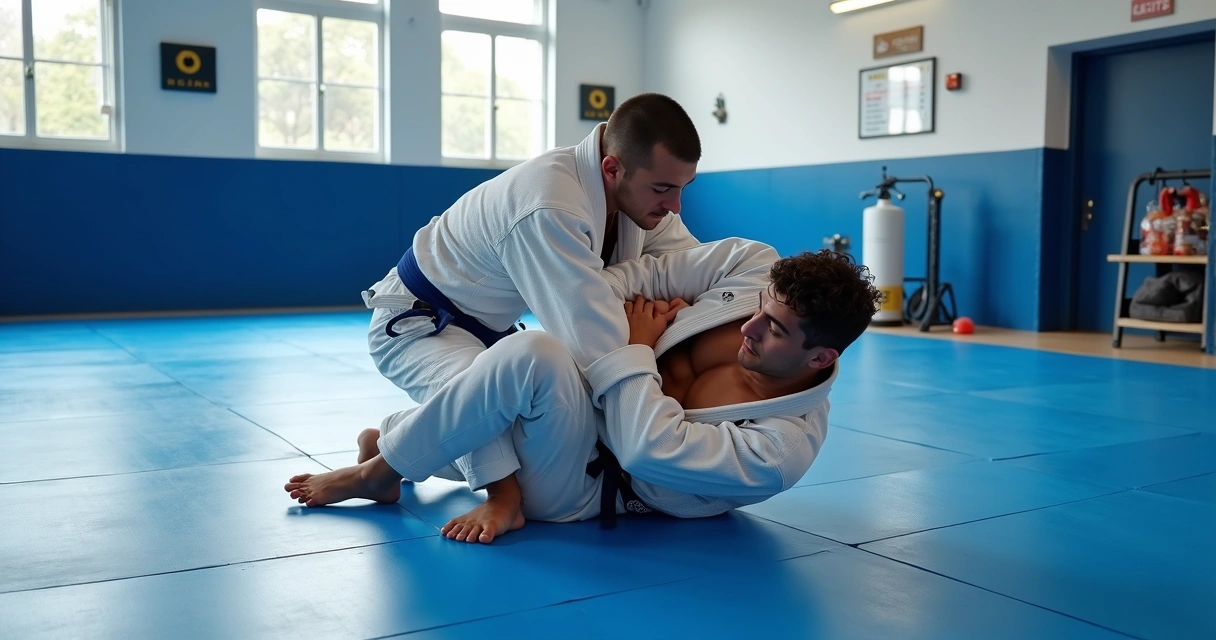
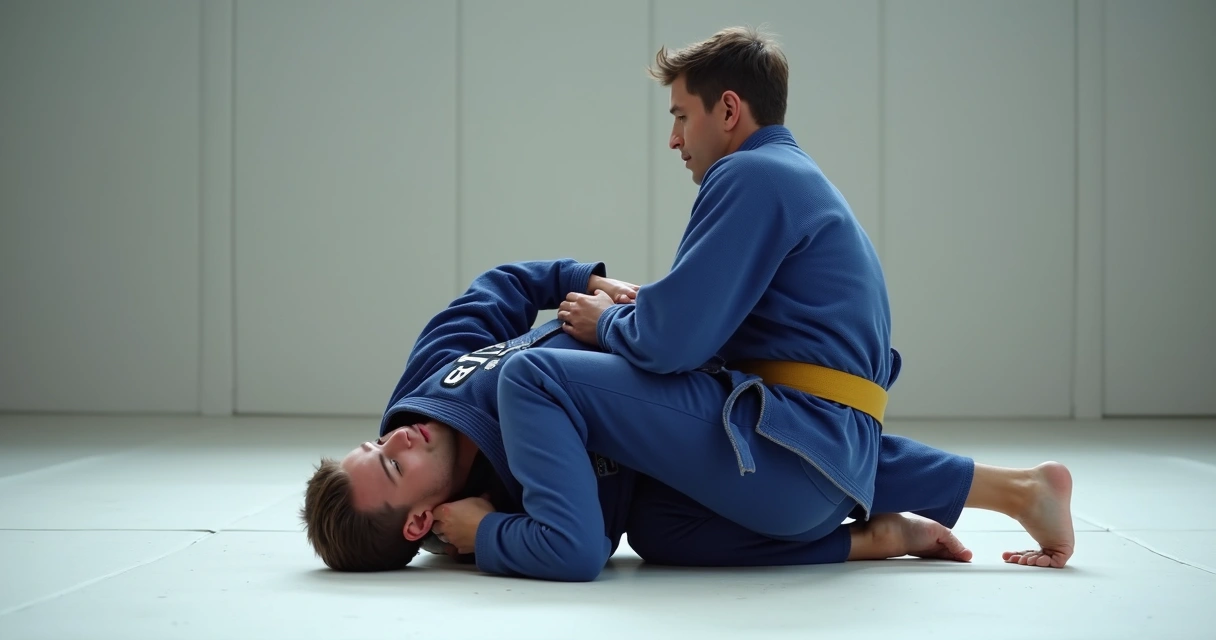
3. form the triangle shape and lock it loosely
- Your attacking leg comes over the back of their neck, foot high and toes pointing up.
- Your other leg crosses underneath, with the back of your knee anchoring against your own ankle. Don’t drop your foot under their back—keep it clamped tightly to your knee for maximum control.
- You’re forming a diamond, but not yet finishing.
4. adjust the angle for max pressure
This is where so many submissions fall apart.
- Reach across and grab the shin of your leg that’s over their neck. That shin is a lever—it keeps them in place.
- Use the foot of your “other” leg to push off their hip, rotating yourself so your opponent is now facing at an angle.
- Your own thigh is flush against the side of their neck.
- If their shoulder isn’t pressing into the other side of their neck, pull their trapped arm across further.
Angle is everything. Flat equals weak, hips off equals strong.
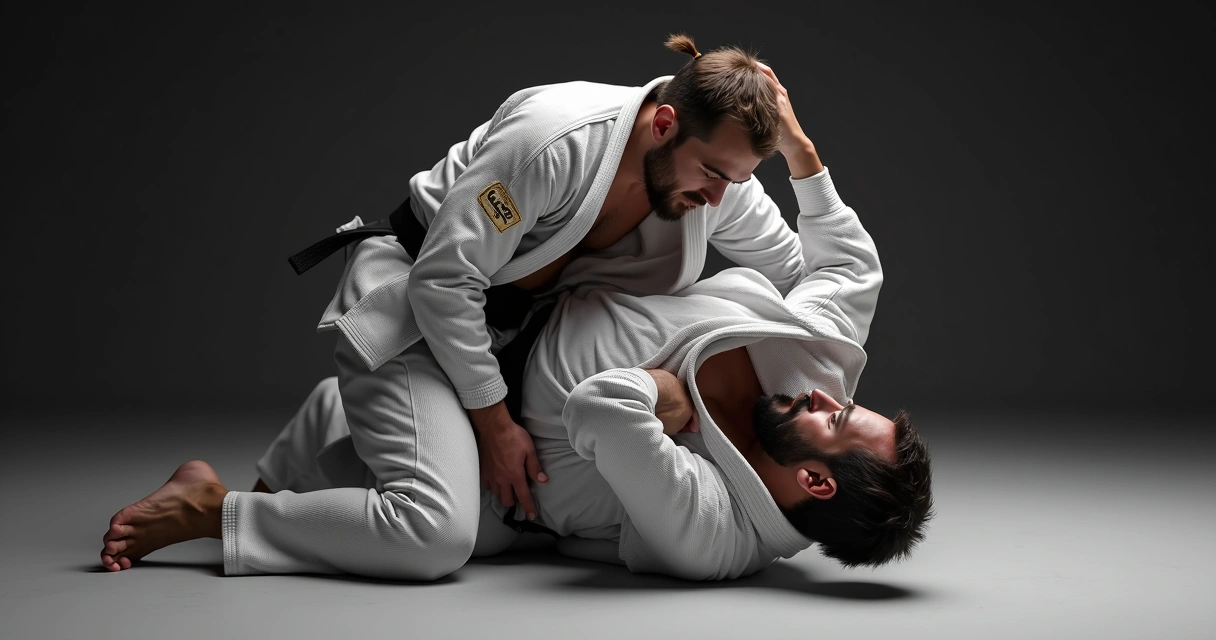
5. finishing details
- Point your toes up, squeeze your knees toward each other—avoid letting your knees flare outward.
- Pull their head down to your chest, locking their posture in place.
- Raise your hips toward the ceiling for the choke. Hold your breath if you must—you won’t need long.
- If you feel pressure against your calves, you’re close.
It sounds simple, even rote, but the magic is in the feel. Getting to that last moment, where you know it’s locked, takes practice. The failings and fumbles are part of it, honestly.
Fine details that make the difference
After five, fifty, or even five hundred triangles, you start to notice the same small concepts. Maybe you learned these the hard way, maybe your coach hammered them in. Either way, they separate a close call from a clean finish.
- Feet position: Your top foot should ride high on the neck. Low feet let your opponent posture up or peel themselves out.
- Knees: Squeeze your knees together, not just your ankles. Wide knees make a loose triangle.
- Point toes up: Flex your feet upwards, as though you’re standing on your tiptoes, even if you’re upside down.
- Don’t cross at the ankles: Crossing ankles gives no pressure and often telegraphs your finish.
- Head pull: Pull their head sharply—don’t just touch it. You want their chin driven to their chest.
- Use your own shin as a lock: Grabbing your shin gives you time to fix your angle and keeps your opponent in the trap.
If you ever land the triangle and hear your partner’s breathing stall, it’s the little details doing the work.
Most common mistakes and how to fix them
You’ll see these flaws in any gym, at any level. They’re not embarrassing, not exactly. Just opportunities in disguise. Here’s where most triangles fall apart, and thoughts on setting them right.
- Not breaking posture: Without breaking your opponent’s posture, they’ll look up, and your legs will be pried apart. Don’t be shy with the collar tie or head pull.
- Wrong angle: If you’re flat with your back, your leg is likely not cutting across the neck enough. Shift your hips and use your foot on their hip to move.
- Knees flared too wide: Squeeze knees together, don’t leave gaps.
- Trying to finish without locking: Take time to secure the shin behind your knee. Rushing to squeeze rarely works.
- Letting the trapped arm slip: Use grips—a sleeve, wrist, or elbow—to keep their arm across. If they free the arm, transition to another attack rather than forcing the choke.
- Not adjusting for different body types: For long legs, sometimes you lock before the angle. For short legs, angle first then lock. Everyone’s built differently.
- Lack of patience: You don’t have to squeeze like your life depends on it from the start. Find the bite, then finish.
Fix the little things, and the big things won’t break.
Triangle choke variations and creative entries
There is no “one triangle.” There are dozens of setups and countless in-the-moment tweaks. You can snatch it from a scramble, reverse it from mount, even catch it as a counter when an opponent tries to pass. Each entry changes the story a bit.
Classic closed guard entry
This is the pattern most often taught to beginners. It builds muscle memory, confidence, and a sense of when the move is available. But even here, you get endless micro-variations—if your partner stands up, if they block your hip, or if they base out. You can fake a sweep or an overhook, then attack as their arms drift.
Arm across the body
Some prefer to force their opponent’s arm across after getting the legs in place, others do it before. Either way, this “arm across” detail closes the loop even tighter. When the arm is pressed across their own chest, their own body becomes part of the strangle.
Angle adjustment: using the hip and foot on the hip
When your opponent postures up, use your free leg’s foot to push on their hip and swing yourself sideways. The added angle makes your thigh press flush against the side of their neck, which is key for the choke. You may have to roll your opponent onto their side by pulling their head, or even sit up a bit to finish.
Mounted triangle
Sometimes you get to mount, and your opponent pushes up on your chest, leaving a gap. Slide your knee over one of their arms and around their neck. Lock the legs, roll to your side, and you’re back in a triangle, only now you started on top.
Triangle from side control or back step
As strange as it feels, triangles can be hit from side positions. Sometimes you spin around a turtled opponent and, as they turn into you, hook their arm with your leg and clamp down. There are even reverse triangles, catching their head with your other leg from odd angles.
Triangle variations: reverse, inverted, and flying
- Reverse triangle: Uses the opposite leg as the main strangling element. More common in no-gi or when attacking from positions like north-south.
- Inverted triangle: Your body is flipped upside down in relation to your opponent—impressive, tricky, and risky.
- Flying triangle: Jumps directly into position, often from standing. A favorite for athletes with explosive hips or a flair for surprise.
The core mechanical ideas stay. Only the road to get there changes.
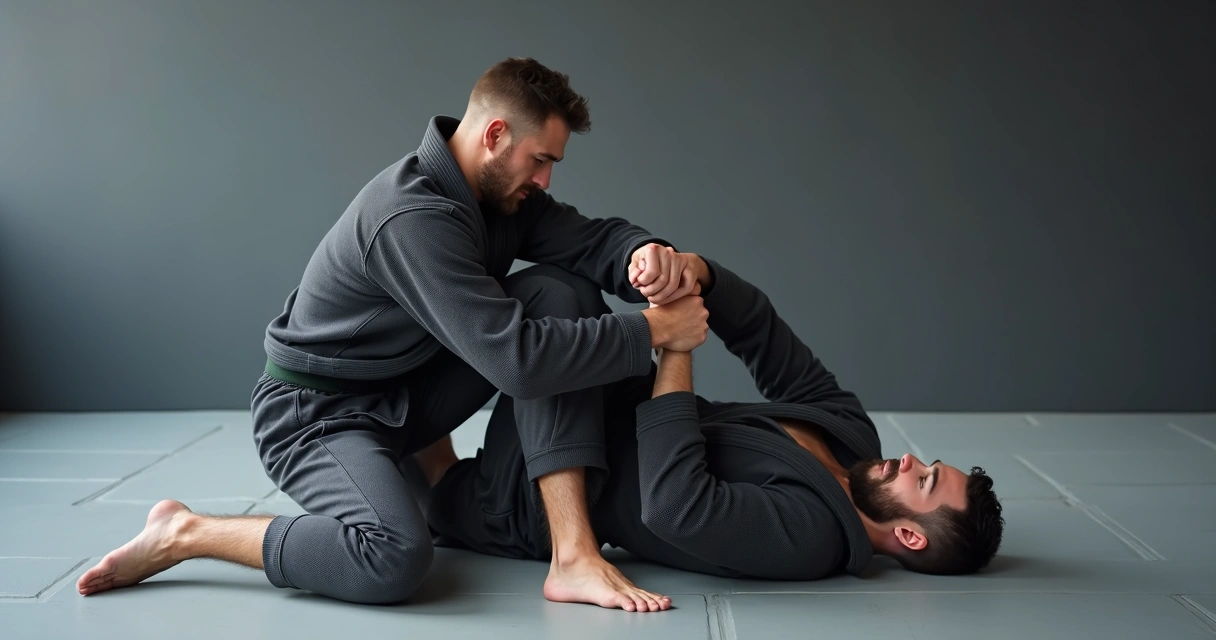
Triangle transitions: when the choke isn’t working
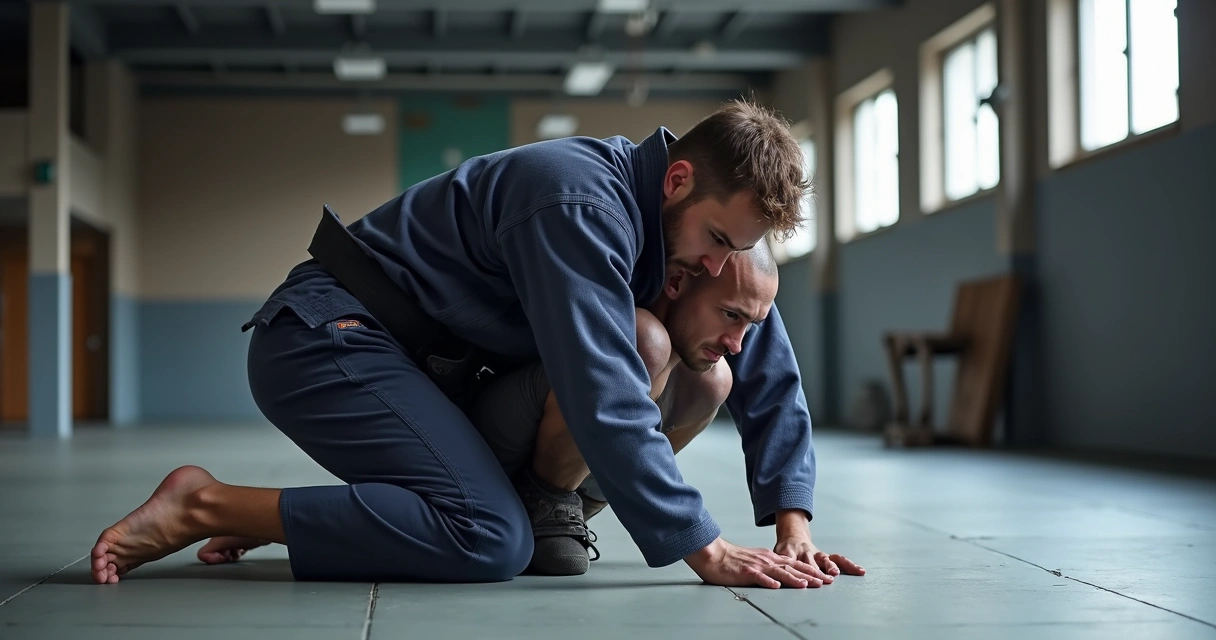
Even the best setups can fail—your partner may defend by stacking, posturing, or hiding their chin. What then? The triangle is still a platform for other attacks.
- Armbar: If the trapped arm is straight and your partner defends by driving into you, swing your leg over their face and attack the arm.
- Omoplata: If they roll or try to pass while defending, sometimes you can rotate into an omoplata shoulder lock.
- Back take: If they turn away desperately, release the triangle and slide to their back.
- Sweeps: Use the locked triangle to off-balance and sweep to mount or top position.
The triangle is a fork in the road. If it closes, great. If not, a new option pops up.
I’ve watched world champions teach that the triangle isn’t just a submission—it’s a control. Sometimes, you hold someone for thirty seconds, tiring them out, then switch to the real attack when their arms wilt.
The science and risks behind chokeholds
It’s tempting to think that chokes are always safe—after all, the tap is there to protect us. But statistics offer an honest look at what’s going on. In a study of 521 BJJ practitioners, over 79% reported being choked at least once per class, and 33% said they had been rendered unconscious by a choke at some point. That’s a lot. The triangle accounts for a good chunk of these cases.
Submission attempts—triangles included—make up almost 30% of injuries, according to a survey of over 1100 athletes. Cervical strain is a documented risk, as described in this research. It’s not just blood flow—neck tension, stacking, and frantic defense all add up.
But are these risks unique? Not really. Medical commentary notes there's little connection shown between repeated, transient chokes like the triangle and long-term brain issues such as CTE. But the chance is not zero. The real risk comes from failing to tap or trying to “tough it out.”
Triangles are frequent in both sparring and competition settings. In analyzing MMA submissions, more triangles appeared in matches ending with submissions compared to those ending by knockout—a clear nod to its efficiency and popularity.
Tap early, tap often. Chokes teach humility fast.
Troubleshooting: fixing a failing triangle
You lock it up, squeeze…but your partner won’t tap. Maybe they’re defending hard—maybe they’re just tough. Now what? Here’s a mini checklist for those stuck moments.
- Did you clear the shoulder? If their own shoulder isn’t pressed tight to their neck, the choke is weak. Pull the trapped arm “across the neck” hard.
- Feet position: If your foot sits past their neck or under their arm, re-adjust. Top foot must go behind your knee—never on their hip or back for finishing.
- Knee squeeze: Drive your knees together, as though you want to flatten a small ball between them.
- Angle, angle, angle: Rotate your hips so your knee points toward their head, not straight up.
- Pull their head: Don’t be lazy. Continuous head control keeps the posture broken.
- Time to switch? If none of this works, release pressure and switch to armbar or omoplata.
It’s not about brute force. The best triangles, weirdly, feel light—your legs do the work and you barely break a sweat.
Defending and escaping the triangle
You’ll spend plenty of rolls on the other end of the triangle, too. Learning the defenses isn’t just about surviving—they teach you how the move works, inside out. There’s nothing like being stuck, squirming, faced with either a tap or a last-minute escape.
Prevention is best
- Always keep elbows in. Don’t let one arm float inside and the other outside their guard.
- Maintain posture: Chin up, back straight. Don’t let them break your posture.
- Watch grips: If your opponent grabs your wrist or sleeve, they’re probably plotting a triangle.
Early stage defense
If the attack has started but not locked:
- Posture up immediately—look to the ceiling, hips forward.
- Stack your opponent: Drive their knees to their face to weaken their angle.
- Fend off their leg or shin with your hand. Never let them grab their own shin to lock up.
Late stage defense
If they’ve locked it but haven’t finished, survival gets dicey.
- Frame your forearm and hand against their hips to make space.
- Drive your trapped arm downward—never up. Try to get your elbow back towards their hip.
- Turn your chin toward their knees—relieves some artery pressure.
- Use your free hand to push on their knee, prying the lock loose.
- Stack and even stand up if able. But, if you begin blacking out—tap. Pride costs too much.
Sometimes the only defense left is the tap.
Using BJJ Notes to track triangle improvements
Technical progress in BJJ can feel slow and messy. You land a triangle once, then not at all for weeks, then suddenly it clicks. That’s where logging each attempt matters. With BJJ Notes, you’re not just scribbling in a notebook—you organize which setups you tried, which details failed, what made the difference.
- Technique logging: Create a “triangle” entry. Add variations—classic, arm across, side control, mount. Attach a few bullet points for each session.
- Sparring notes: After rolling, note how many times you landed or failed in each round. Add specific details—“missed angle,” “partner stacked easily,” etc.
- Goal setting: If you want to finish triangles cleaner, set a goal: land 3 in a week, or hold the lock for at least 10 seconds before transitioning.
- Dashboard tracking: Use the visual dashboard to spot patterns: Are you catching more triangles after breaking posture? Do certain partners always escape?
- Reminders: BJJ Notes will nudge you after each session to write a quick note—those small reflections add up to real improvement.
Over time, you’ll see your own learning curve mapped out. Maybe you realize you always fail against bigger partners, or only succeed from spider guard. That’s knowledge you won’t just remember—you’ll act on it next time.
Drilling the triangle: solo and partner development
Practice makes better, if not perfect. The triangle is no exception. Here are ways to drill it for real-world results, whether you have a partner or not.
Solo drills
- Hip escapes (shrimping): Train the motion you need to change triangle angle—shrimp from side to side, focusing on sliding your hips away and back in.
- Triangle lock simulation: Lie on your back, practice locking and unlocking your legs in a triangle shape repeatedly. Focus on pointing toes and squeezing knees.
- Plyometric hip thrusts: Build strength in your hips for those explosive entries; from your back, bridge hard upward, then relax and repeat.
Partner drills
- Entry repetition: Starting in closed guard, isolate the arm and snap into triangle over and over. Both partners benefit—one attacks, one defends.
- Finishing detail drill: Begin with the triangle loosely locked. Work on tightening, adjusting angle, head pull, and finishing.
- Defend and escape sequence: Have one partner attempt the triangle, other partner stacks and postures to escape; switch after every few reps.
- Transition attack chain: Start in triangle, then move intentionally to armbar, omoplata, or back take. Train not to stall if the choke isn’t there.
If you’re tracking those repetitions and improvements in BJJ Notes, you get more than just sweaty. You build a map for your future sessions.
Mental game: what triangle mastery teaches you
All chokes can rattle the mind, but the triangle does something more. You can see the submission coming, an arm wandering in, the opponent shifting, the legs folding. Sometimes it's slow and inevitable, other times it's lightning-quick.
A good triangle chokes more than the neck. It smothers doubt, teaches patience, and punishes hesitation.
Mastery of this move is a journey. You may fail a hundred times, but each attempt is a lesson. Not just in technique, but in attitude. You learn to relax, to adjust moments before panic, to watch for openings and traps. You recognize the rhythm: break posture, angle, lock, finish. If you mess up, you reset, reflect, and try again.
Regular note-taking helps to clarify all these lessons. When you look back after months of writing in your BJJ Notes, you see patterns—those “aha” moments lining up with better performance. The submission itself is just the start.
Progression: triangle attacks at every belt
The triangle is timeless—it continues to teach at any stage. Here’s what the journey might look like as you learn and grow:
- White belt: Recognize when the arms are in the right position, learn the basic shape. Focus on breaking posture and not crossing ankles.
- Blue belt: Develop muscle memory for angle and locking. Find triangle entries from more open guards. Get used to switching to armbars when triangle fails.
- Purple to brown: Add in trickier setups—mounted, reverse, from scrambles. Use triangle attacks as sweeps or transitions more than just as finishes.
- Black belt: Refine timing, speed, and sensitivity. Use “invisible” setups, hiding attacks in transitions. Teach others, noticing details you once missed.
Injury awareness and safe training habits
It’s not all glory and smooth chokes. Triangles can lead to neck, spine, and even shoulder injuries if you or your partner push too hard. The temptation to “fight out” can backfire, especially if your chin is down and neck is twisted.
- Stacking too hard can result in cervical strain, as studies linked above showed.
- Panic defense sometimes causes partners to wrench their trapped arm out the wrong way—shoulder injuries happen fast.
- Always listen for the tap—it can be a slap, a grunt, or a quick shuffle with the hand. Release immediately.
Safe training doesn’t blunt the technique. It just ensures you’re back the next week, learning and logging improvement on BJJ Notes instead of icing a bruised ego (or neck).
Tap, talk, trust—both your training partner and yourself.
Triangle choke in competition and MMA
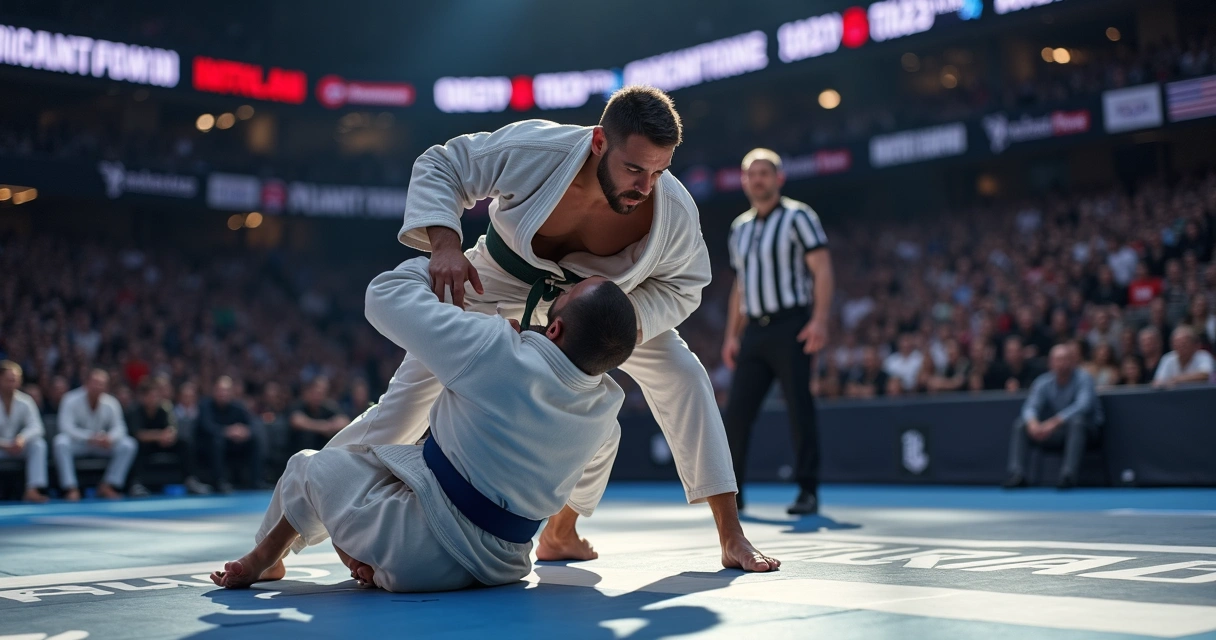
This isn’t just an in-the-gym tool. In tournaments, the triangle regularly appears in submission stat sheets. Its appeal is obvious—whether gi or no-gi, it’s a submission that works in real speed, against real resistance.
In mixed martial arts, it has finished countless high-profile matches, often as a comeback when a fighter is losing. If you’re smooth with your guards, it offers a threat from the bottom that can turn the tables in seconds. And because it’s so structurally sound, bigger, stronger opponents can be finished by smaller, quicker athletes.
All that said, competition brings the risks into sharper focus. Chokes under adrenaline sometimes run a bit longer before the tap. Competing athletes often resist out of pride or oversight, upping the risk of injuries mentioned before. But, for most practitioners, having confidence in your triangle means you always have a weapon in your arsenal.
Conclusion: why triangles matter for your BJJ
Mastering the triangle is more than just learning a submission. It's about seeing windows where most see walls. It’s about having a plan when the roll is wild, but also the composure to pause, adjust, and finish cleanly. Each attempt refines your sense for space and timing. Each failure, if tracked carefully—like in BJJ Notes—brings you a step closer to instinctual skill.
Whether you’re weaving the move into every session, or chasing your first decent tap, the triangle choke will stubbornly resist mastery and reward those who keep coming back, who dare to notice the small missteps and turn them to gold in practice.
If you want to see real progress, try logging your experiments, mistakes, and small successes. See what you notice. Every breakthrough gets clearer when you have the discipline to put it in writing. That's the heart of BJJ Notes—supporting serious practitioners like you, with tools fit for the real pace of learning on the mats. Why not give it a try after your next session?
Frequently asked questions about triangle chokes in BJJ
What is a triangle choke in BJJ?
A triangle choke is a submission technique where the attacker uses their legs to encircle the opponent’s neck and one arm, creating a figure-four shape with the legs. By squeezing the knees together and pulling the opponent’s head down, blood flow to the brain is cut off, often resulting in a tap or brief loss of consciousness if held too long. This submission is a core part of Brazilian Jiu Jitsu and can be set up from several positions, but is most commonly applied from the guard.
How do I set up a triangle choke?
To set up a triangle choke, start from the guard. First, break your opponent’s posture and isolate one of their arms between your legs, leaving the other arm outside. Shoot your hips up, swing one leg over the back of their neck, and lock your other leg underneath the attacking leg’s knee, forming a triangle shape. Adjust your angle by grabbing your shin and rotating so your thigh presses against the side of their neck. Squeeze your knees, point your toes up, and pull their head down while raising your hips to finish the choke.
What are common mistakes with triangle chokes?
The most common mistakes include not breaking the opponent’s posture, failing to adjust the angle, leaving the knees too wide apart, relying on strength instead of technique, and crossing at the ankles instead of locking under the knee. Other frequent errors are forgetting to pull the head down, not securing the trapped arm properly, or rushing the finish without locking the figure-four shape first. Training with attention to these small details and tracking them (for example, in BJJ Notes) can help address these issues.
How can I escape a triangle choke?
To escape a triangle choke, first try to prevent the attack by keeping elbows inside and maintaining good posture. If caught, immediately posture up, stack your opponent, and use your free hand to fight for space or push their knee off your neck. Try to get the trapped arm back to safety by sliding your elbow out. If the choke gets tight, defend your neck by turning your chin toward the attacker’s knee and continue posturing up and stacking. If there’s no escape, tap before losing consciousness.
Is the triangle choke effective in competitions?
Yes, the triangle choke is highly effective in both BJJ competitions and mixed martial arts. In fact, analyses of match outcomes show that triangles are one of the most frequently successful submission techniques. Their adaptability to both gi and no-gi events, and their ability to neutralize bigger, stronger opponents with leverage and timing, make them popular choices for competitive athletes at all skill levels.